Why run your own relay?
Opening your main PC to the internet with port forwarding is a security risk, and leaving it on around the clock wastes power. A small Linux server or Raspberry Pi relay gives you the lowest possible latency, no port forwarding to the PCs you access, less power consumption, no GDPR concerns about third‑party servers and Wake‑on‑LAN from outside your network. Even if the relay is attacked, all data passing through it is encrypted with keys the server never has.
This guide assumes you already have SSH access to the Linux machine and the necessary permissions.
Installation
- Connect to the server over SSH (for example with OpenSSH, WinSCP or FileZilla). All following commands run on the server.
- Download the relay: wget https://downloads.mirillis.com/files/beta/remotly‑relay.zip
- Unzip it: unzip remotly‑relay.zip (install unzip first with sudo apt‑get update && sudo apt‑get install unzip if needed).
- Set permissions: sudo chmod 755 -R remotly && sudo chown root:root -R remotly
- Move the files: sudo mv remotly /srv
- Edit the configuration and set the port: nano /srv/remotly/config/remotly‑relay.json — we recommend the standard HTTPS port 443 to avoid access problems.
- Run the installer: sudo bash /srv/remotly/script/installremotlyrelay.sh
- Start the service: sudo bash /srv/remotly/script/startremotlyrelay.sh
- Verify it is running: systemctl list‑units --type=service --state=running — remotly‑relay.service should be on the list.
wget https://downloads.mirillis.com/files/beta/remotly‑relay.zip
unzip remotly‑relay.zip
sudo chmod 755 -R remotly
sudo chown root:root -R remotly
sudo mv remotly /srv
nano /srv/remotly/config/remotly‑relay.json
sudo bash /srv/remotly/script/installremotlyrelay.sh
sudo bash /srv/remotly/script/startremotlyrelay.sh
systemctl list‑units --type=service --state=running
Add the relay to your account
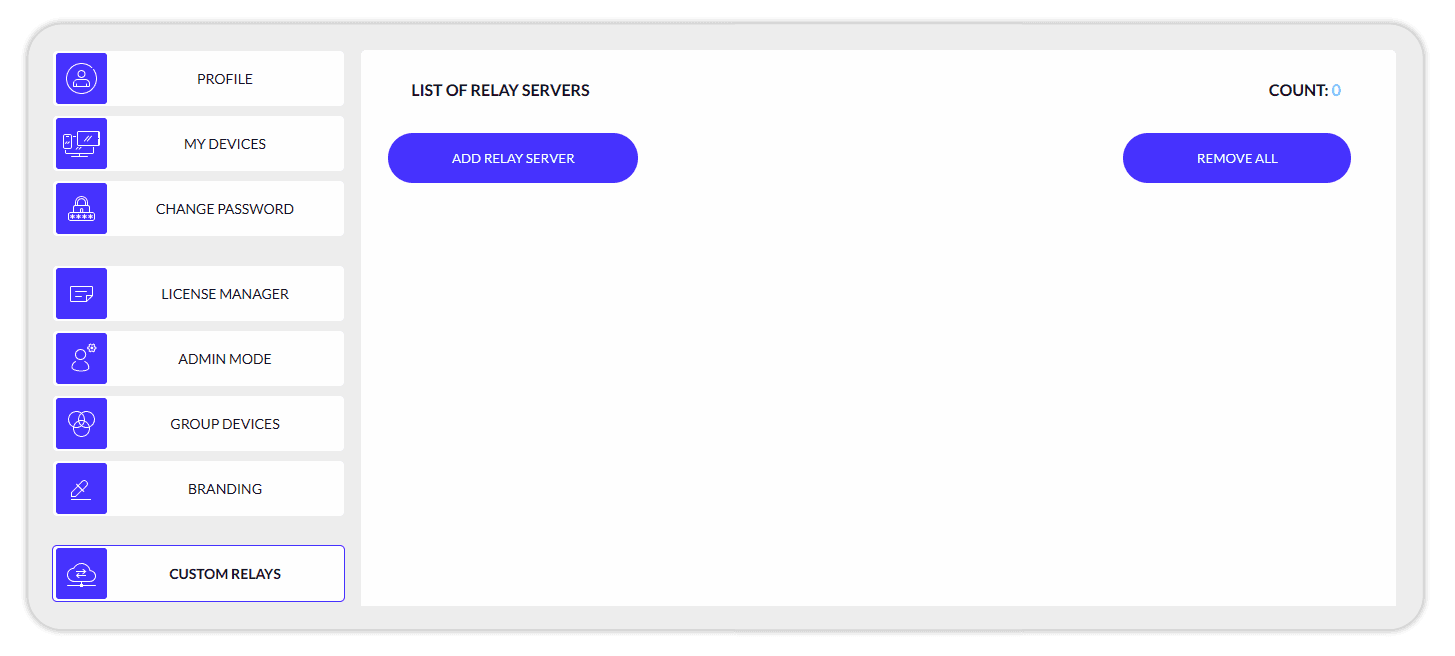
Sign in at remotly.com, open Custom Relays and add your server's public IP and port(s). From now on all your Connect Anywhere connections use your own server.
Questions? Visit the Remotly community.